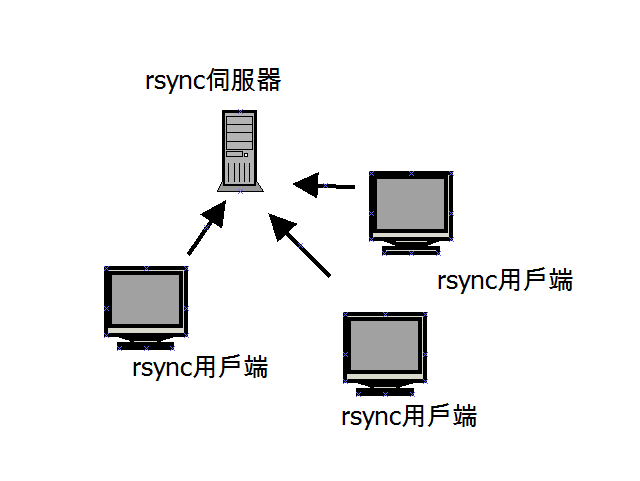
环境说明
主机名
IP
说明
server
172.16.10.10
服务端
client
172.16.10.100
客户端
1
2
3
4
[root@server ~]
Linux server 2.6.32-573.22.1.el6.x86_64
[root@server ~]
CentOS release 6.7 (Final)
配置rsync服务
rsync服务端配置在172.16.10.10服务器上面。
安装rsync服务
添加rsync服务的用户
1
2
3
[root@server ~]
[root@server ~]
uid=501(rsync) gid=501(rsync) groups=501(rsync)
创建/etc/rsyncd.conf配置文件
1
2
3
4
5
6
7
8
9
10
11
12
13
14
15
16
17
18
19
20
[root@server ~]
uid = rsync
gid = rsync
use chroot = no
max connections = 200
timeout = 300
pid file = /var/run/rsyncd.pid
lock file = /var/run/rsync.lock
log file = /var/log /rsyncd.log [ansheng]
path = /ansheng/
ignore errors
read only = false list = false
hosts allow = 172.16.10.0/24
hosts deny = 0.0.0.0/32
auth users = rsync_backup
secrets file = /etc/rsync.password
生成密码文件
1
2
3
[root@server ~]
[root@server ~]
rsync_backup:ansheng
为密码文件设置权限
创建共享的目录并授权rsync管理
1
2
3
4
[root@server ~]
[root@server ~]
[root@server ~]
drwxr-xr-x 2 rsync rsync 4096 Apr 26 14:19 /ansheng/
启动rsync服务并检查
1
2
3
4
5
6
7
8
9
10
[root@server ~]
[root@server ~]
root 1155 1 0 14:20 ? 00:00:00 rsync --daemon
[root@server ~]
tcp 0 0 0.0.0.0:873 0.0.0.0:* LISTEN 1155/rsync
tcp 0 0 :::873 :::* LISTEN 1155/rsync
[root@server ~]
COMMAND PID USER FD TYPE DEVICE SIZE/OFF NODE NAME
rsync 1155 root 4u IPv4 10943 0t0 TCP *:rsync (LISTEN)
rsync 1155 root 5u IPv6 10944 0t0 TCP *:rsync (LISTEN)
加入开机自启动
1
2
3
[root@server ~]
[root@server ~]
/usr/bin/rsync --daemon
配置rsync客户端
客户端172.16.10.100配置rsync客户端实现推送功能。
生成链接服务器需要的密码文件
设置密码文件权限
文件同步测试
拉取
推送
推送的时候排单个或多个文件
排除单个文件
排除多个文件
完全同步
完全同步会把服务端和本地端的文件保持一致
通道模式
一般配合ssh key使用
rsync客户端配置inotify
inotify监控rsync客户端上面的文件,一旦有变化就上传到rsync服务端。
查看当前系统是否支持inotify
在开始安装inotify-tools前请先确认你的Linux内核是否啊到了2.6.13,并且在编译时开启CONFIG_INOTIFY选项,也可以通过以下命令检测。
1
2
3
4
5
6
7
[root@client ~]
2.6.32-573.22.1.el6.x86_64
[root@client ~]
total 0
-rw-r--r-- 1 root root 0 Apr 26 14:42 max_queued_events
-rw-r--r-- 1 root root 0 Apr 26 14:42 max_user_instances
-rw-r--r-- 1 root root 0 Apr 26 14:42 max_user_watches
下载inotify源码包
1
2
[root@client ~]
[root@client src]
编译安装inotify
1
2
3
4
5
6
[root@client src]
[root@client src]
[root@client inotify-tools-3.14]
[root@client inotify-tools-3.14]
[root@client inotify-tools-3.14]
[root@client src]
1
2
3
4
5
6
7
[root@client src]
[root@client inotify]
total 16
drwxr-xr-x 2 root root 4096 Apr 26 14:45 bin
drwxr-xr-x 3 root root 4096 Apr 26 14:45 include
drwxr-xr-x 2 root root 4096 Apr 26 14:45 lib
drwxr-xr-x 4 root root 4096 Apr 26 14:45 share
脚本自动监控
当在/rsync_client目录下创建文件的时候会自动推送到rsync服务端
1
2
3
4
5
6
7
8
[root@client ~]
#!/bin/bash /usr/local /inotify/bin/inotifywait -mrq --format '%w%f' -e create,close_write,delete /rsync_client \
|while read file
do
cd //rsync_client &&\
rsync -az ./ --delete rsync_backup@172.16.10.10::ansheng --password-file=/etc/rsync.password
don


